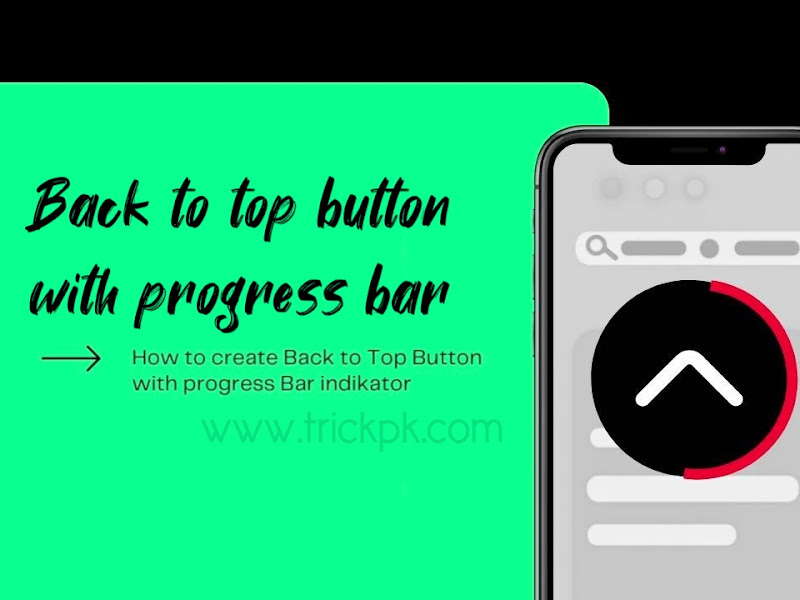
The useful Back to top button makes it easier for readers to return to the top of the article without having to scroll / scroll manually, it feels almost mandatory to have a blog.
The addition of a feature that is not too obvious but very useful is almost rarely noticed, especially for the blog owner. However, for the convenience of the reader, the placement of this button must still be considered.
On the Blogger Dashboard select then . If so, let's continue. Theme Backup
How to make Back to Top Button with Progress Bar
Installing this button requires jQuery . If your blog doesn't exist, please add the following code above the tag </head>.
<script src='https://cdnjs.cloudflare.com/ajax/libs/jquery/3.5.1/jquery.min.js'></script>
Steps to install the Back to top button with a progress bar indicator:
Step 1: Please enter your Blogger Dashboard . Then click Theme Edit HTML
Step 2: Paste the following css code just above the code ]]></b:skin>or above the code </style>
/* Backtotop with Progress Button TrickPk*/ @-webkit-keyframes border-transform{0%,100%{border-radius:63% 37% 54% 46% / 55% 48% 52% 45%}14%{border-radius:40% 60% 54% 46% / 49% 60% 40% 51%}28%{border-radius:54% 46% 38% 62% / 49% 70% 30% 51%}42%{border-radius:61% 39% 55% 45% / 61% 38% 62% 39%}56%{border-radius:61% 39% 67% 33% / 70% 50% 50% 30%}70%{border-radius:50% 50% 34% 66% / 56% 68% 32% 44%}84%{border-radius:46% 54% 50% 50% / 35% 61% 39% 65%}} .trickpk-tTop{position:fixed;right:20px;bottom:75px;height:45px;width:45px;display:block;background:#f7f7f7;border-radius:50px;box-shadow:inset 0 0 0 2px rgba(255,255,255,0.2),rgba(0,0,0,0.07) 0 1px 1px,rgba(0,0,0,0.07) 0 2px 2px,rgba(0,0,0,0.07) 0 4px 4px,rgba(0,0,0,0.07) 0 8px 8px,rgba(0,0,0,0.07) 0 16px 16px;z-index:1;opacity:0;visibility:hidden;transform:translateY(15px);-webkit-transition:all 200ms linear;transition:all 200ms linear} .trickpk-tTop svg.progress-circle{width:100%!important;height:100%!important} .trickpk-tTop.active-progress{opacity:1;visibility:visible;transform:translateY(0)} .trickpk-tTop svg.line{position:absolute;text-align:center;line-height:40px;left:10px;top:10px;height:24px;width:24px;display:block;z-index:1;-webkit-transition:all 200ms linear;transition:all 200ms linear} .trickpk-tTop:hover::before{opacity:1} .trickpk-tTop svg path{fill:none} .trickpk-tTop svg.progress-circle path{stroke:#404243;stroke-width:4;box-sizing:border-box;-webkit-transition:all 200ms linear;transition:all 200ms linear} /* Darkmode code */ .drK .trickpk-tTop{background:#1c2733} .drK .trickpk-tTop svg.progress-circle path{stroke:#0f9d58}
Customize Mark code as
My mark color code please customized.
To adjust the position of the button please adjust .right:20px;bottom:75px
The bigger the value, the farther the button is from the corner
Step 3: Next paste the following code in the free body it's up to you. Or it can be in a new widget via Layout
<!--[ Back top button with Progress Bar TrickPk.com ]--> <div class='trickpk-tTop' onclick='window.scrollTo({top: 0})'> <svg class='progress-circle svg-content' height='100%' viewBox='-1 -1 102 102' width='100%'> <path d='M50,1 a49,49 0 0,1 0,98 a49,49 0 0,1 0,-98' /> </svg> <!--[ SVG Panah code (Replacable) ]--> <svg class='line' fill='none' stroke='#08102b' viewBox='0 0 24 24'> <g transform='translate(12.000000, 12.000000) rotate(-180.000000) translate(-12.000000, -12.000000) translate(5.000000, 8.500000)'> <path d='M14,0 C14,0 9.856,7 7,7 C4.145,7 0,0 0,0' /> </g> </svg> <!--[ SVG Panah code Ends ]--> </div>
Step 4: Finally, please paste the JavaScript following code above the closing tag </body>.
<script>/*<![CDATA[*/ /* Backtotop by TrickPk https://www.trickpk.com */ $(document).ready(function() { var progressPath = document.querySelector('.trickpk-tTop path'); var pathLength = progressPath.getTotalLength(); progressPath.style.transition = progressPath.style.WebkitTransition = 'none'; progressPath.style.strokeDasharray = pathLength + ' ' + pathLength; progressPath.style.strokeDashoffset = pathLength; progressPath.getBoundingClientRect(); progressPath.style.transition = progressPath.style.WebkitTransition = 'stroke-dashoffset 10ms linear'; var updateProgress = function() { var scroll = $(window).scrollTop(); var height = $(document).height() - $(window).height(); var progress = pathLength - (scroll * pathLength / height); progressPath.style.strokeDashoffset = progress; } updateProgress(); $(window).scroll(updateProgress); var offset = 50; var duration = 550; jQuery(window).on('scroll', function() { if (jQuery(this).scrollTop() > offset) { jQuery('.trickpk-tTop').addClass('active-progress'); } else { jQuery('.trickpk-tTop').removeClass('active-progress'); } }); });/*]]>*/</script>
Step 5: If everything is done, don't forget or to see the results.
Closing
That 's how to install the Back to top button with a progress bar indicator . Hopefully useful for all of you. If you have any questions, write them in the comments.


